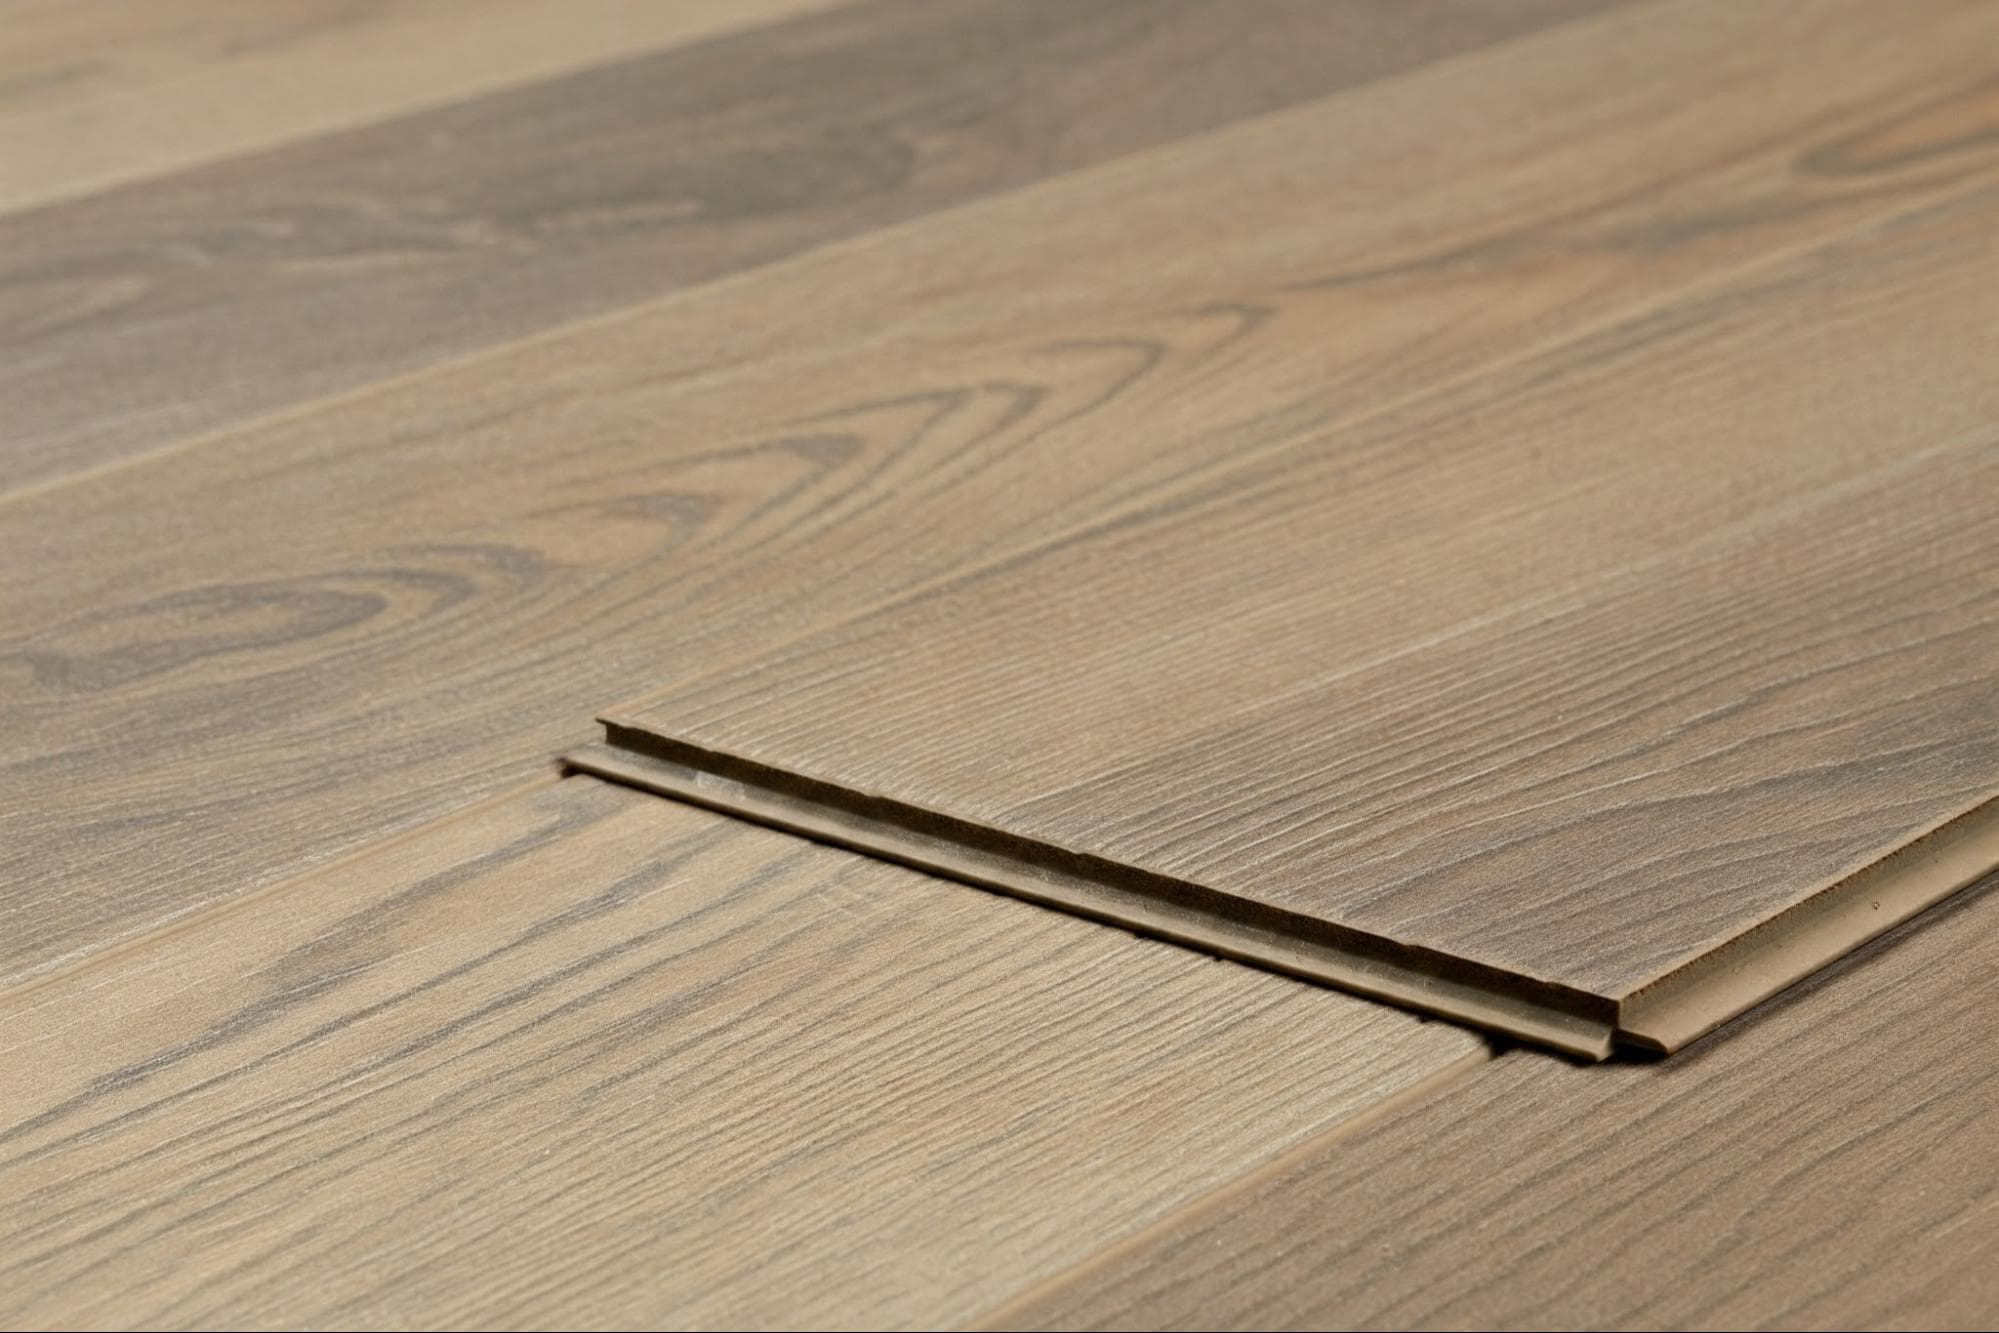
Looking to upgrade your Chicago home with new flooring? Laminate flooring offers an attractive combination of affordability, durability, and style. While hiring a professional installer is always an option, many homeowners find satisfaction in tackling laminate flooring installation themselves. This comprehensive guide will provide a step-by-step approach, empowering you with the knowledge and confidence to achieve a professional-looking result.
Why Choose Laminate Flooring?
Before we dive into the installation process, let’s explore why laminate flooring is a popular choice for Chicago homes:
1. Affordability
Compared to hardwood or tile, laminate flooring is generally more budget-friendly, making it an attractive option for cost-conscious homeowners.
2. Durability
Laminate flooring is designed to withstand the wear and tear of daily life. It’s resistant to scratches, stains, and fading, making it a good choice for high-traffic areas and homes with pets or children.
3. Style Variety
Laminate flooring comes in a wide range of styles, colors, and patterns, mimicking the look of natural hardwood, tile, or stone. This versatility allows you to find the perfect match for your home’s d cor.
4. Ease of Maintenance
Laminate flooring is easy to clean and maintain, requiring only regular sweeping or vacuuming and occasional damp mopping.
Preparing for Installation
Proper preparation is key to a successful laminate flooring installation.
1. Gather Your Tools and Materials
- Laminate flooring planks
- Underlayment
- Moisture barrier (if needed)
- Measuring tape and pencil
- Utility knife and scissors
- Tapping block and pull bar
- Spacers
- Saw (for cutting planks)
- Safety glasses and gloves
- Optional: Knee pads and a moisture meter
2. Prepare the Subfloor
Ensure your subfloor is clean, level, and dry. Remove any existing flooring and debris. If you have a concrete subfloor, you may need to apply a moisture barrier to prevent moisture damage.
3. Acclimate the Flooring
Bring the laminate flooring planks into the room where they will be installed and let them acclimate for at least 48 hours. This allows the planks to adjust to the room’s temperature and humidity, minimizing expansion or contraction after installation.
Step-by-Step Installation Guide
Now, let’s walk through the laminate flooring installation process:
1. Install the Underlayment
Roll out the underlayment over the subfloor, ensuring the seams are butted together and taped. Underlayment provides cushioning, sound insulation, and moisture protection.
2. Start the First Row
Begin laying the first row of planks in a corner of the room, leaving a small expansion gap (about 1/4 inch) between the planks and the wall. Use spacers to maintain this gap.
3. Continue Laying Rows
Click the planks together end-to-end and side-to-side, working your way across the room. Use a tapping block and pull bar to ensure tight seams.
4. Cut Planks as Needed
Use a saw to cut planks to fit around corners, doorways, and other obstacles.
5. Install the Last Row
You may need to rip the last row of planks to fit. Ensure you maintain the expansion gap against the wall.
6. Install Transition Strips
Install transition strips between different flooring types or at doorways to create a smooth and finished look.
7. Add Finishing Touches
Install baseboards or quarter-round molding to cover the expansion gaps along the walls.
Tips for a Successful Installation
- Start in a Corner: Begin your installation in a corner of the room that is least visible.
- Stagger the Joints: Stagger the joints between rows to create a more visually appealing and structurally sound floor.
- Use a Moisture Barrier: If you have a concrete subfloor, use a moisture barrier to prevent moisture damage.
- Work in Small Sections: Install the flooring in small sections to make the process more manageable.
- Take Your Time: Don’t rush the installation process. Take your time to ensure each plank is properly aligned and secured.
Finding Professional Help
If you’re unsure about any part of the installation process or prefer to leave it to the experts, consider hiring a professional flooring installer. If you live in Chicago, a search for “laminate flooring installation Chicago” will help you find qualified installers in your area.
Conclusion
Laminate flooring installation Chicago can be a rewarding DIY project, transforming your Chicago home with beautiful and durable floors. By following this step-by-step guide, preparing properly, and taking your time, you can achieve a professional-looking result and enjoy the satisfaction of completing the project yourself. With its affordability, style variety, and ease of maintenance, laminate flooring is a great choice for any homeowner seeking to upgrade their living space.
About the Author